
Setting up discretionary fees
Make sure you have added a payout wallet before enabling discretionary fees. Follow this guide for details.
How to set up discretionary fees via the dashboard
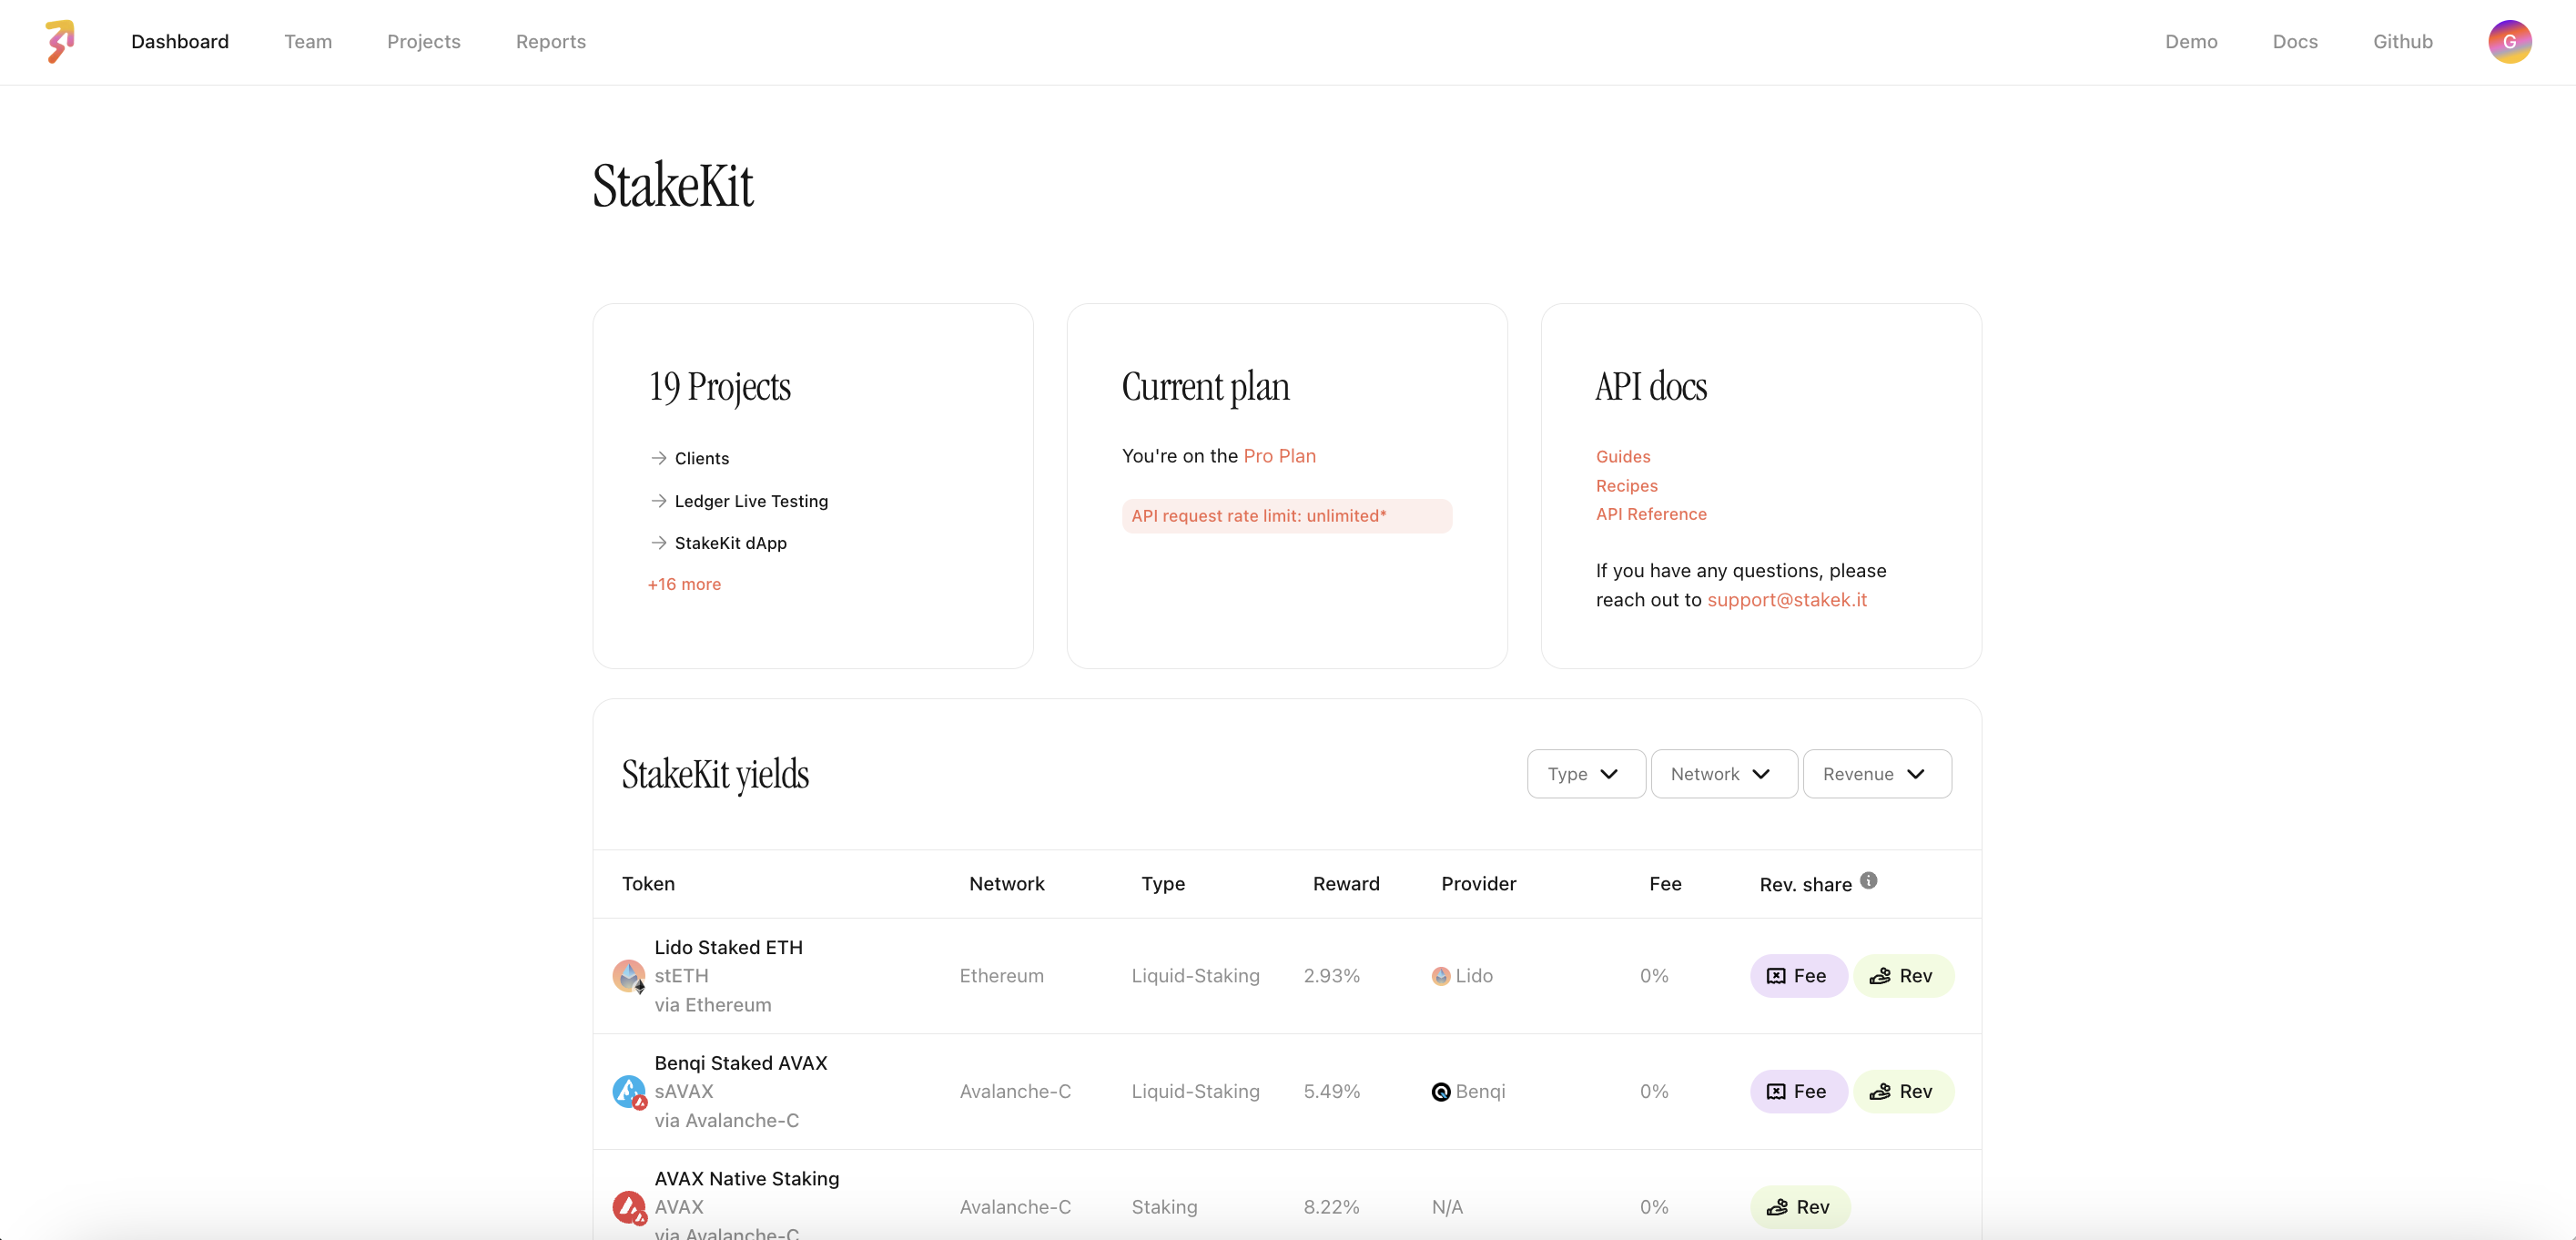
To add the discretionary fees to your project you'll need to first go to the StakeKit dashboard. Fees are handled in projects, so you need to ensure that you have first created at least one.
Select the project for which you want to enable discretionary fees and scroll to the bottom of the project's page where you'll find the Fee Configuration section.
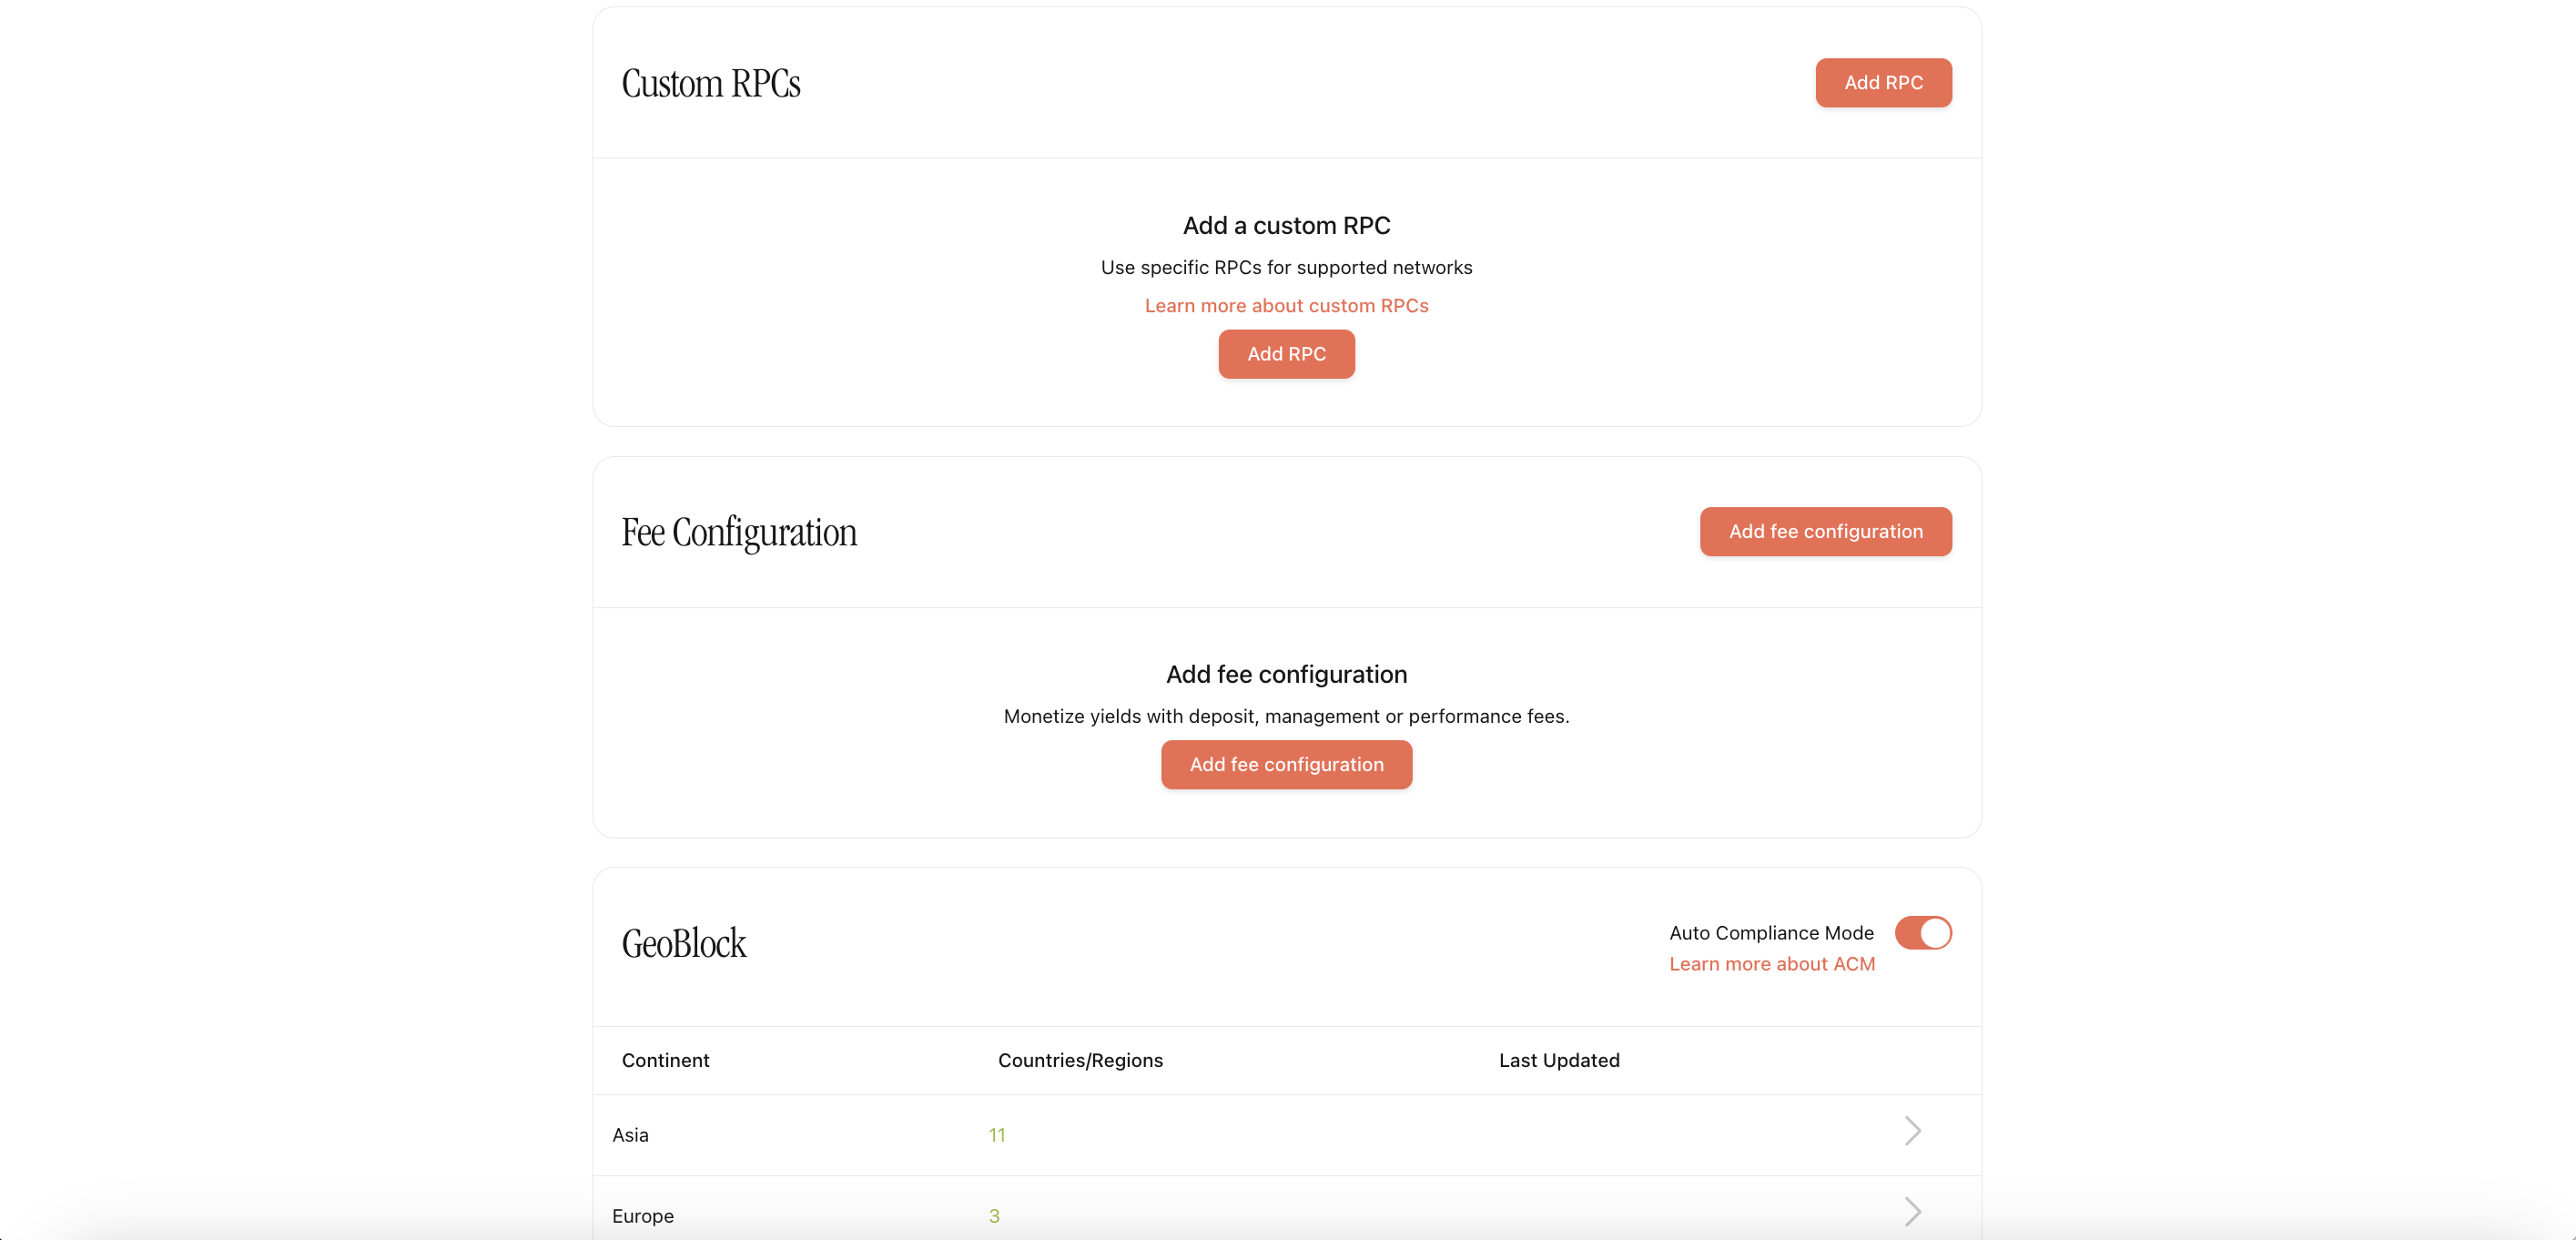
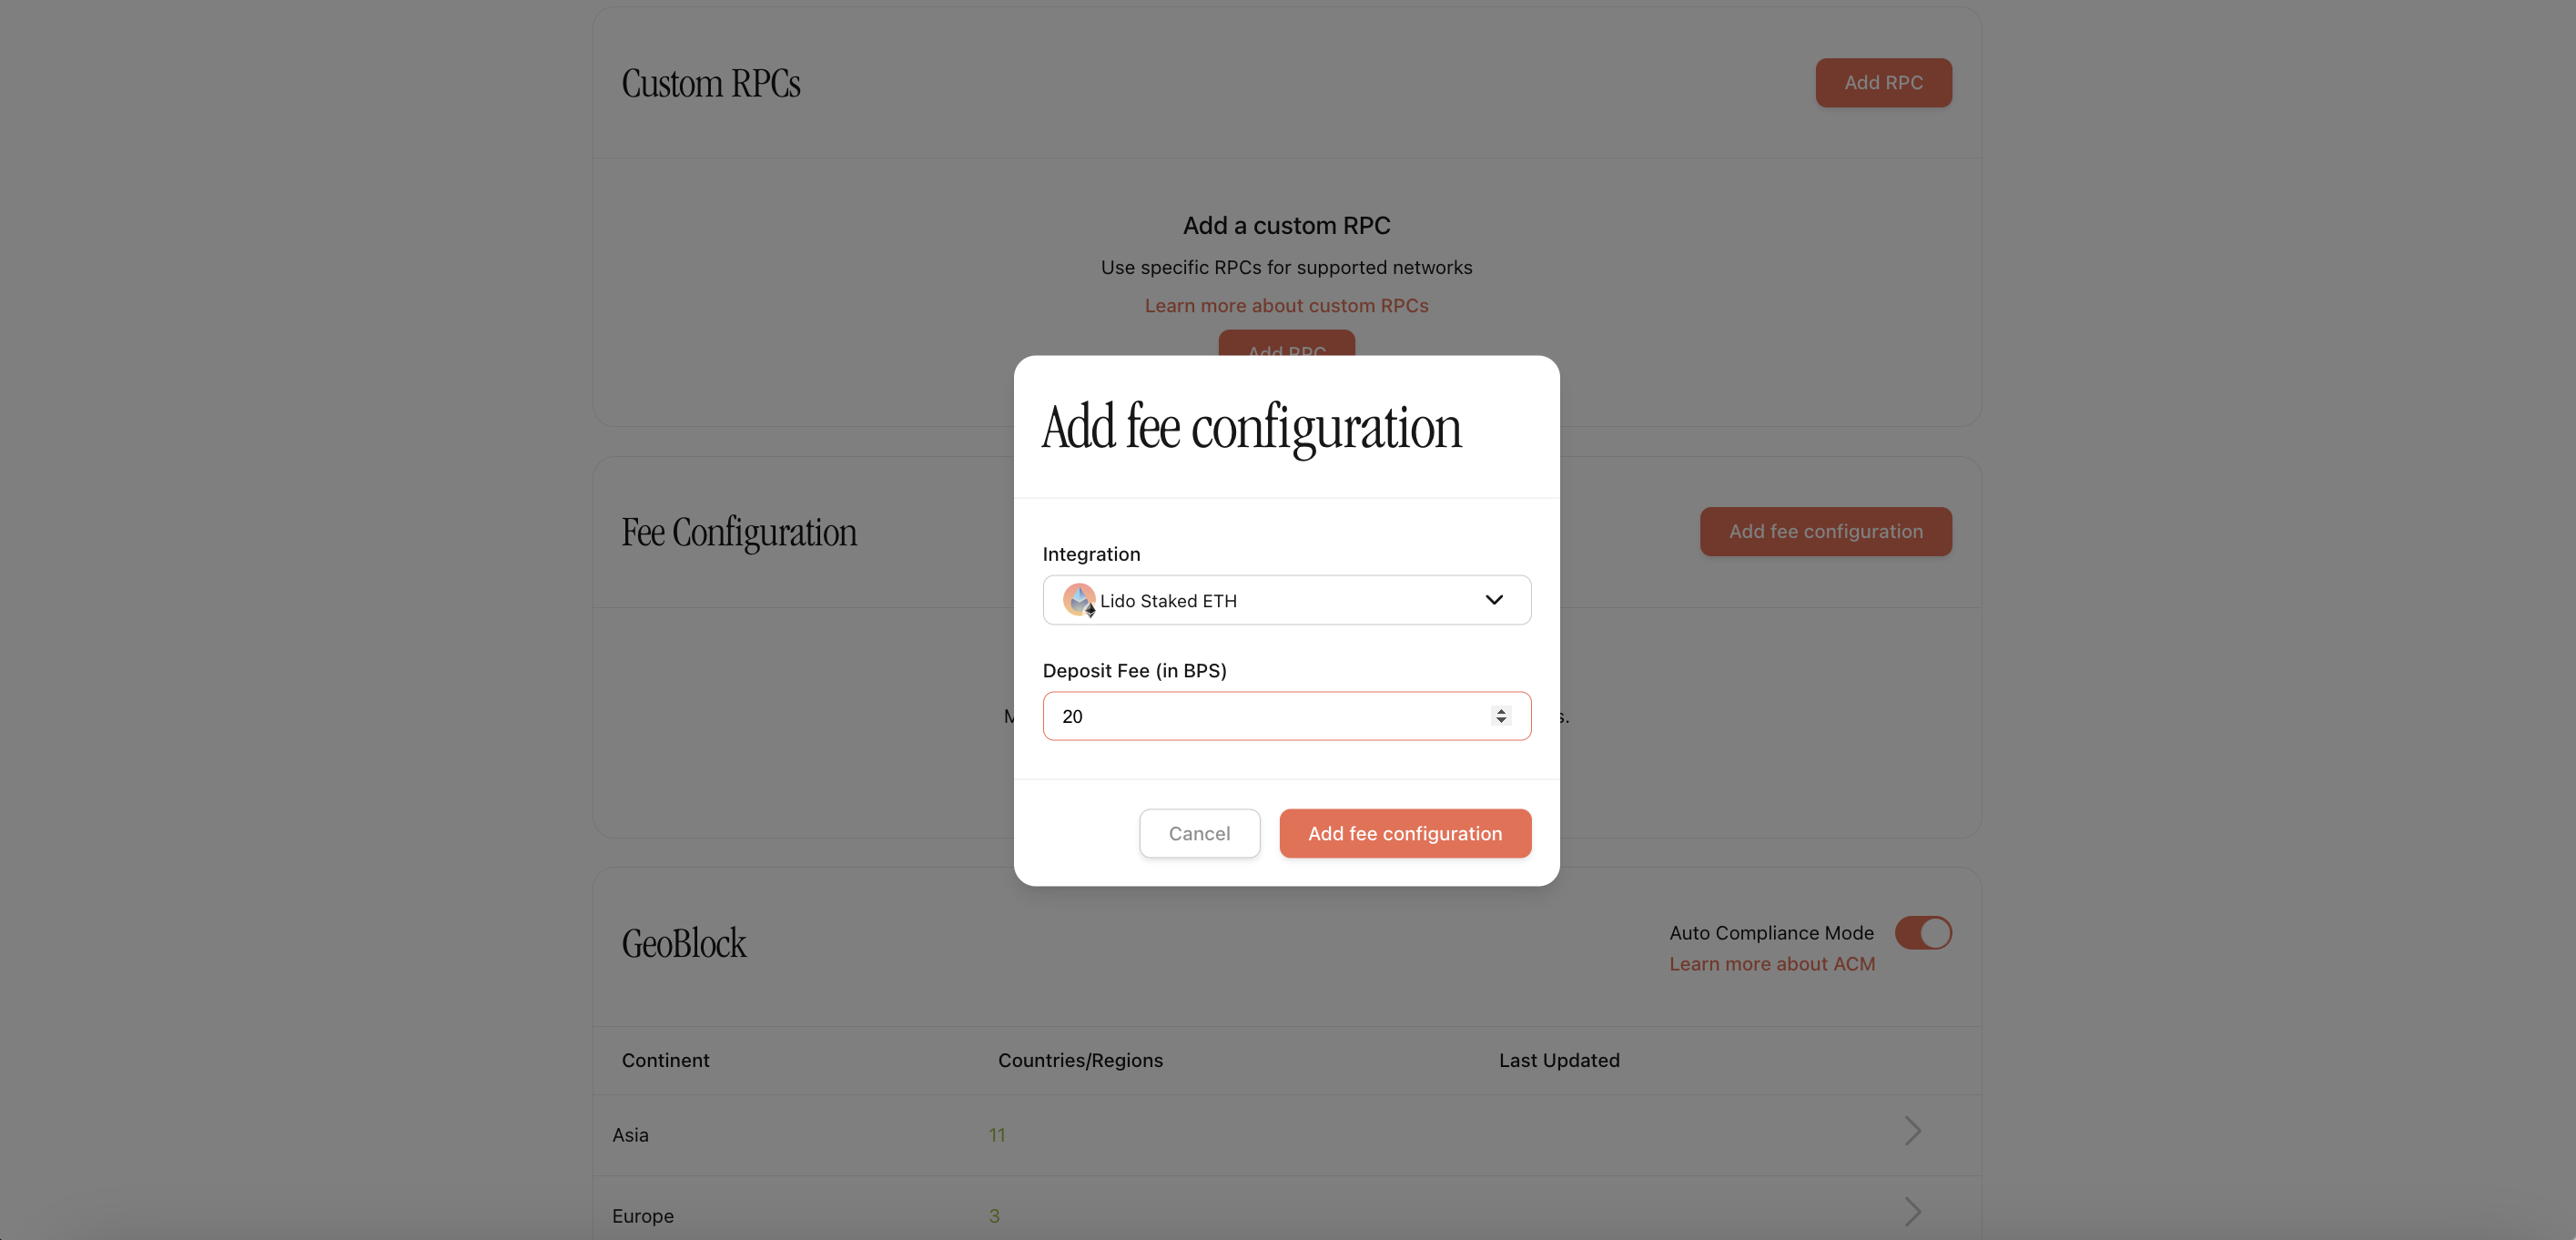
At the bottom, click on Add Fee. Fill out the form by selecting the integration for which you want to add the additional fee and the amount in basis points.
Once the fee is requested, you'll see all the integrations and their fees under this section. At any point, you can edit or remove them.

Once a fee configuration is requested, the StakeKit team will spin up the relevant contract and hook up the connection. When the status is set to "LIVE" fees will start accumulating whenever a user interacts with the set yield.
Updated 11 months ago